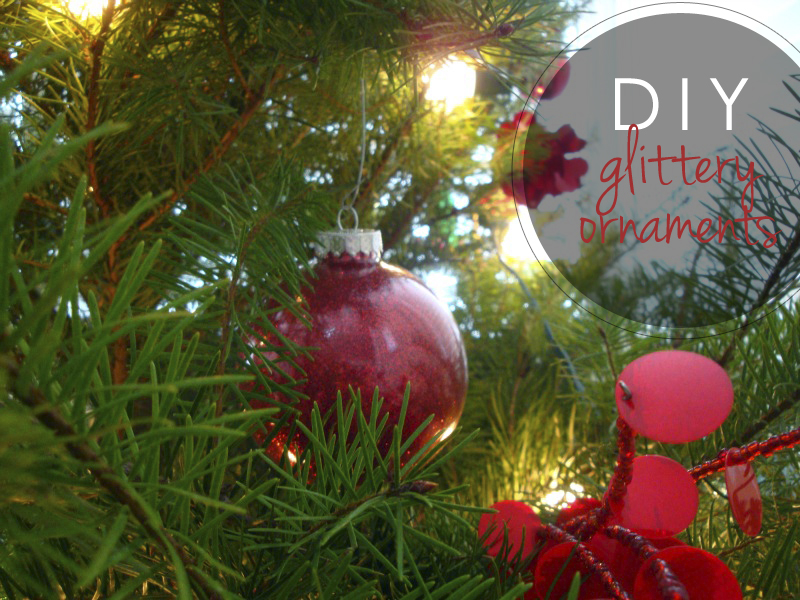
{The Girl Kyle Creates} DIY Glittery Ornaments
glittery
glittery1
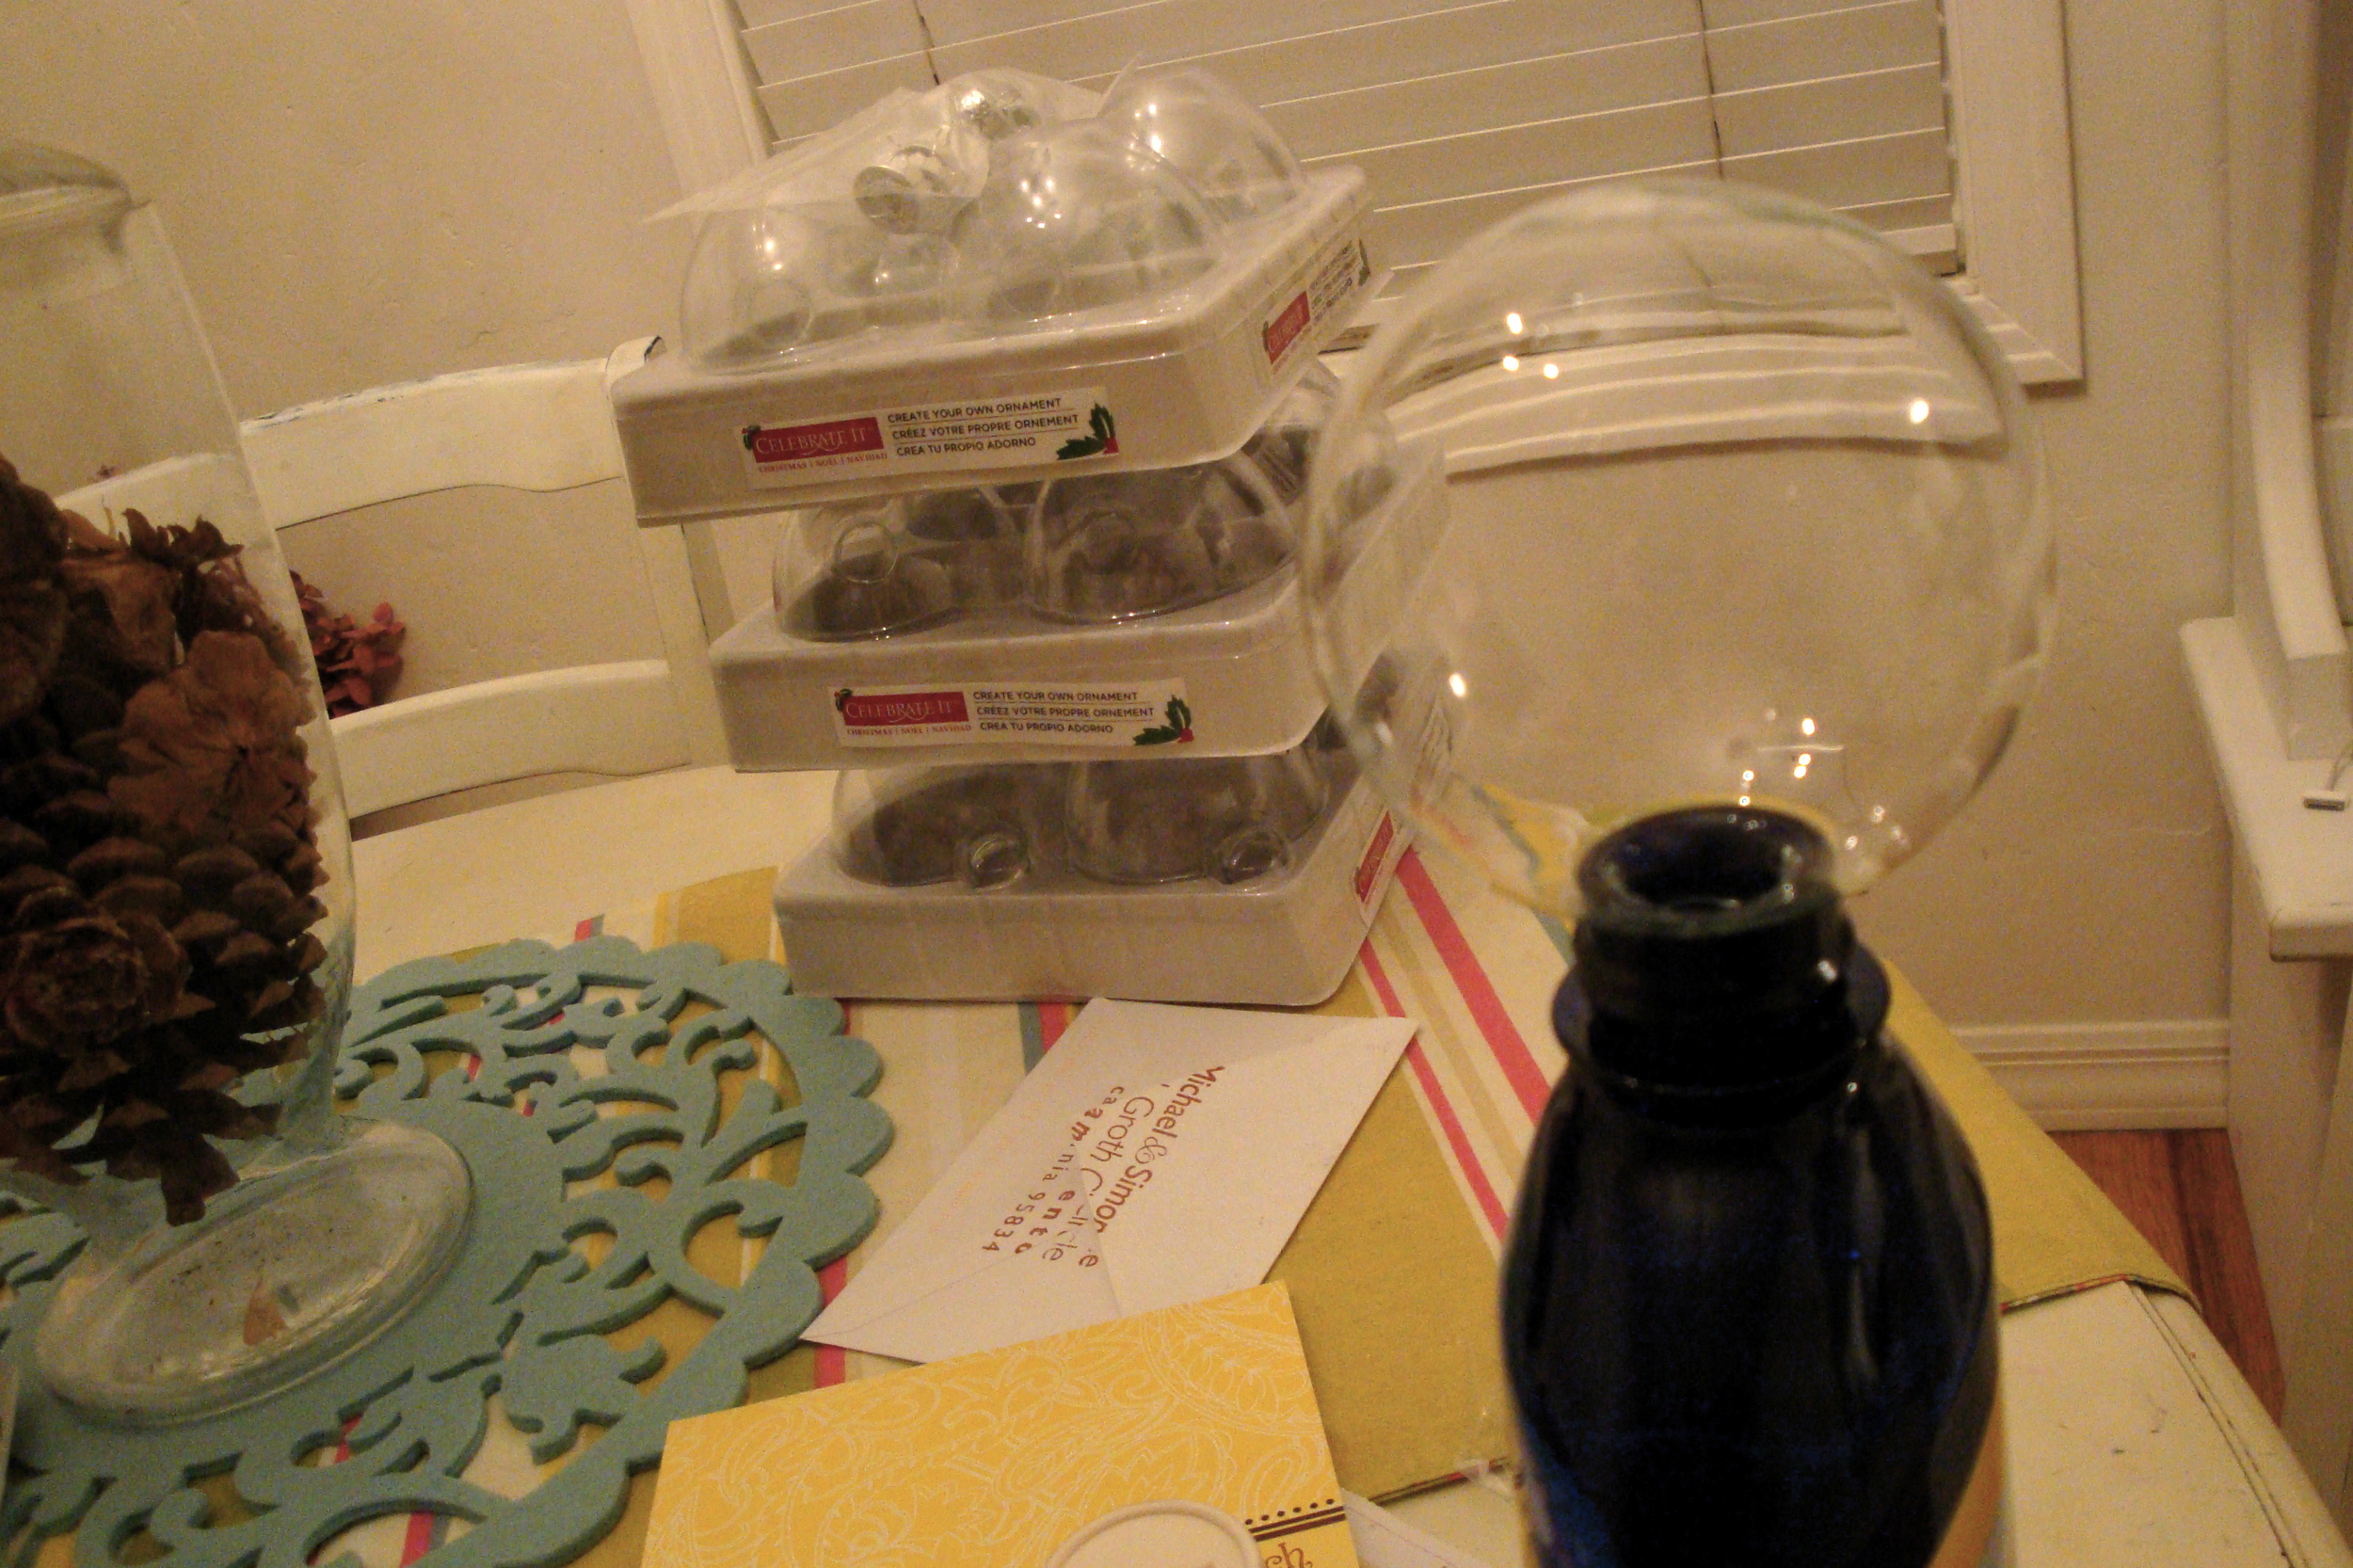
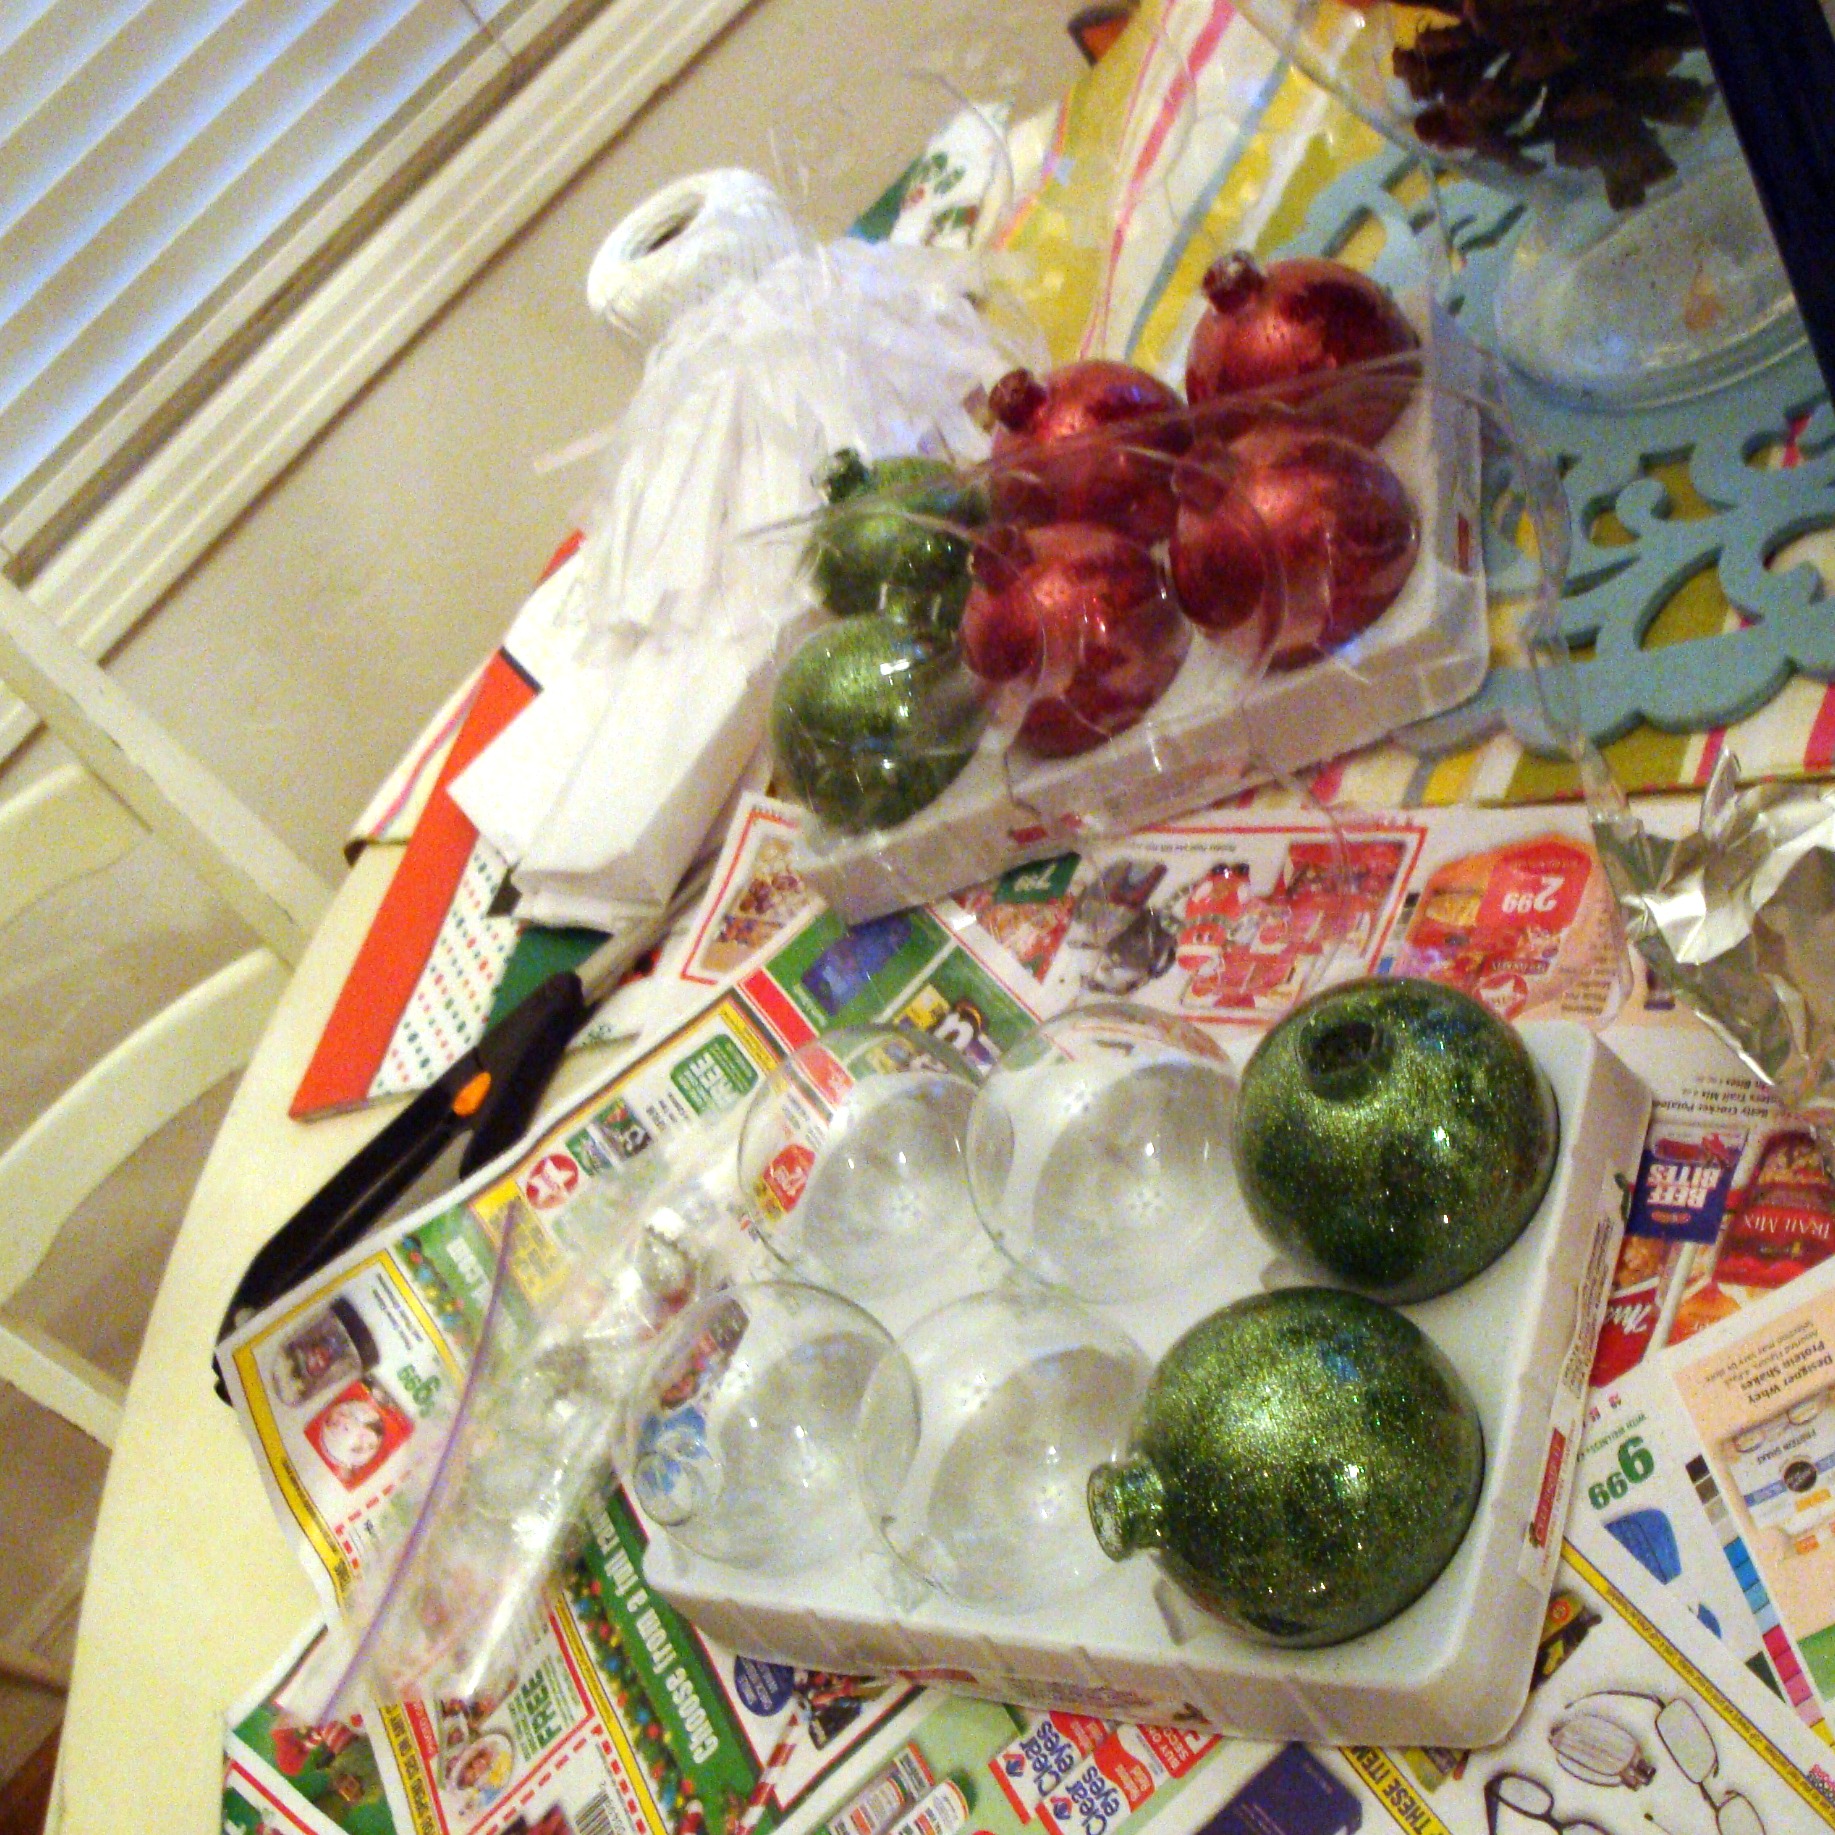
If you're not already on Pinterest then you're missing out. If you are on Pinterest then you've probably come across several tutorials for making your own glittery ornaments... with floor mop of all things?! Well here's one more for you and let me tell you - IT WORKS! I decided several weeks ago I was going to attempt this and so I financially started planning. Martha Stewart has THE best collection of glitter at Michael's. Armed with my Michael's app (did you know? for all you crafters out there, you need it) and a 40% off coupon, I want back all week to purchased one glitter jar at a time. Then I went back on Black Friday when everything was at least 30% off and bought the clear ornaments. Finally, a trip to Target for floor mop - my cheapest purchase for this project. I'd read that people had used both Pledge or Mop-n-Glow so it seems any sort of floor cleaner will work.
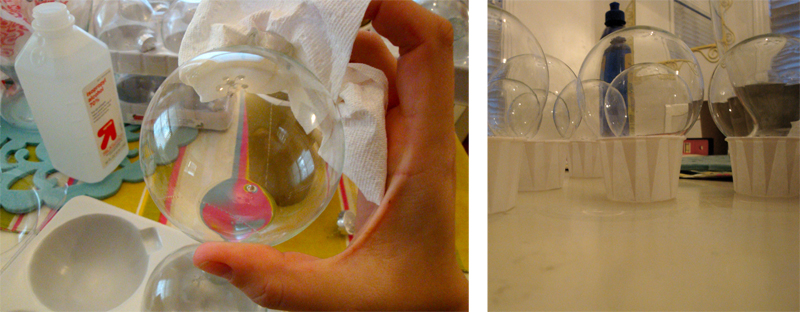
First I cleaned each of the ornaments out with rubbing alcohol. I saw this on one of the many tutorials, her reasoning being that you were cleaning out dust and fuzz. Honestly, I'm not sure if this is really necessary. I didn't SEE any massive dust and I had to let the balls sit over for the rubbing alcohol to dry completely. I didn't want to risk it so I followed the directions exactly. This time.
DSC05435
The following day, after the rubbing alcohol had dried I swirled the pledge cleaner inside each ball. I did about 3 balls at a time because I leave the squeeze top on to get the liquid in, but then remove the top to drain each ball. It's okay if there's a little extra little cleaner sitting in the bottom of the ball. It didn't seem to effect the overall look of the glitter.
DSC05436
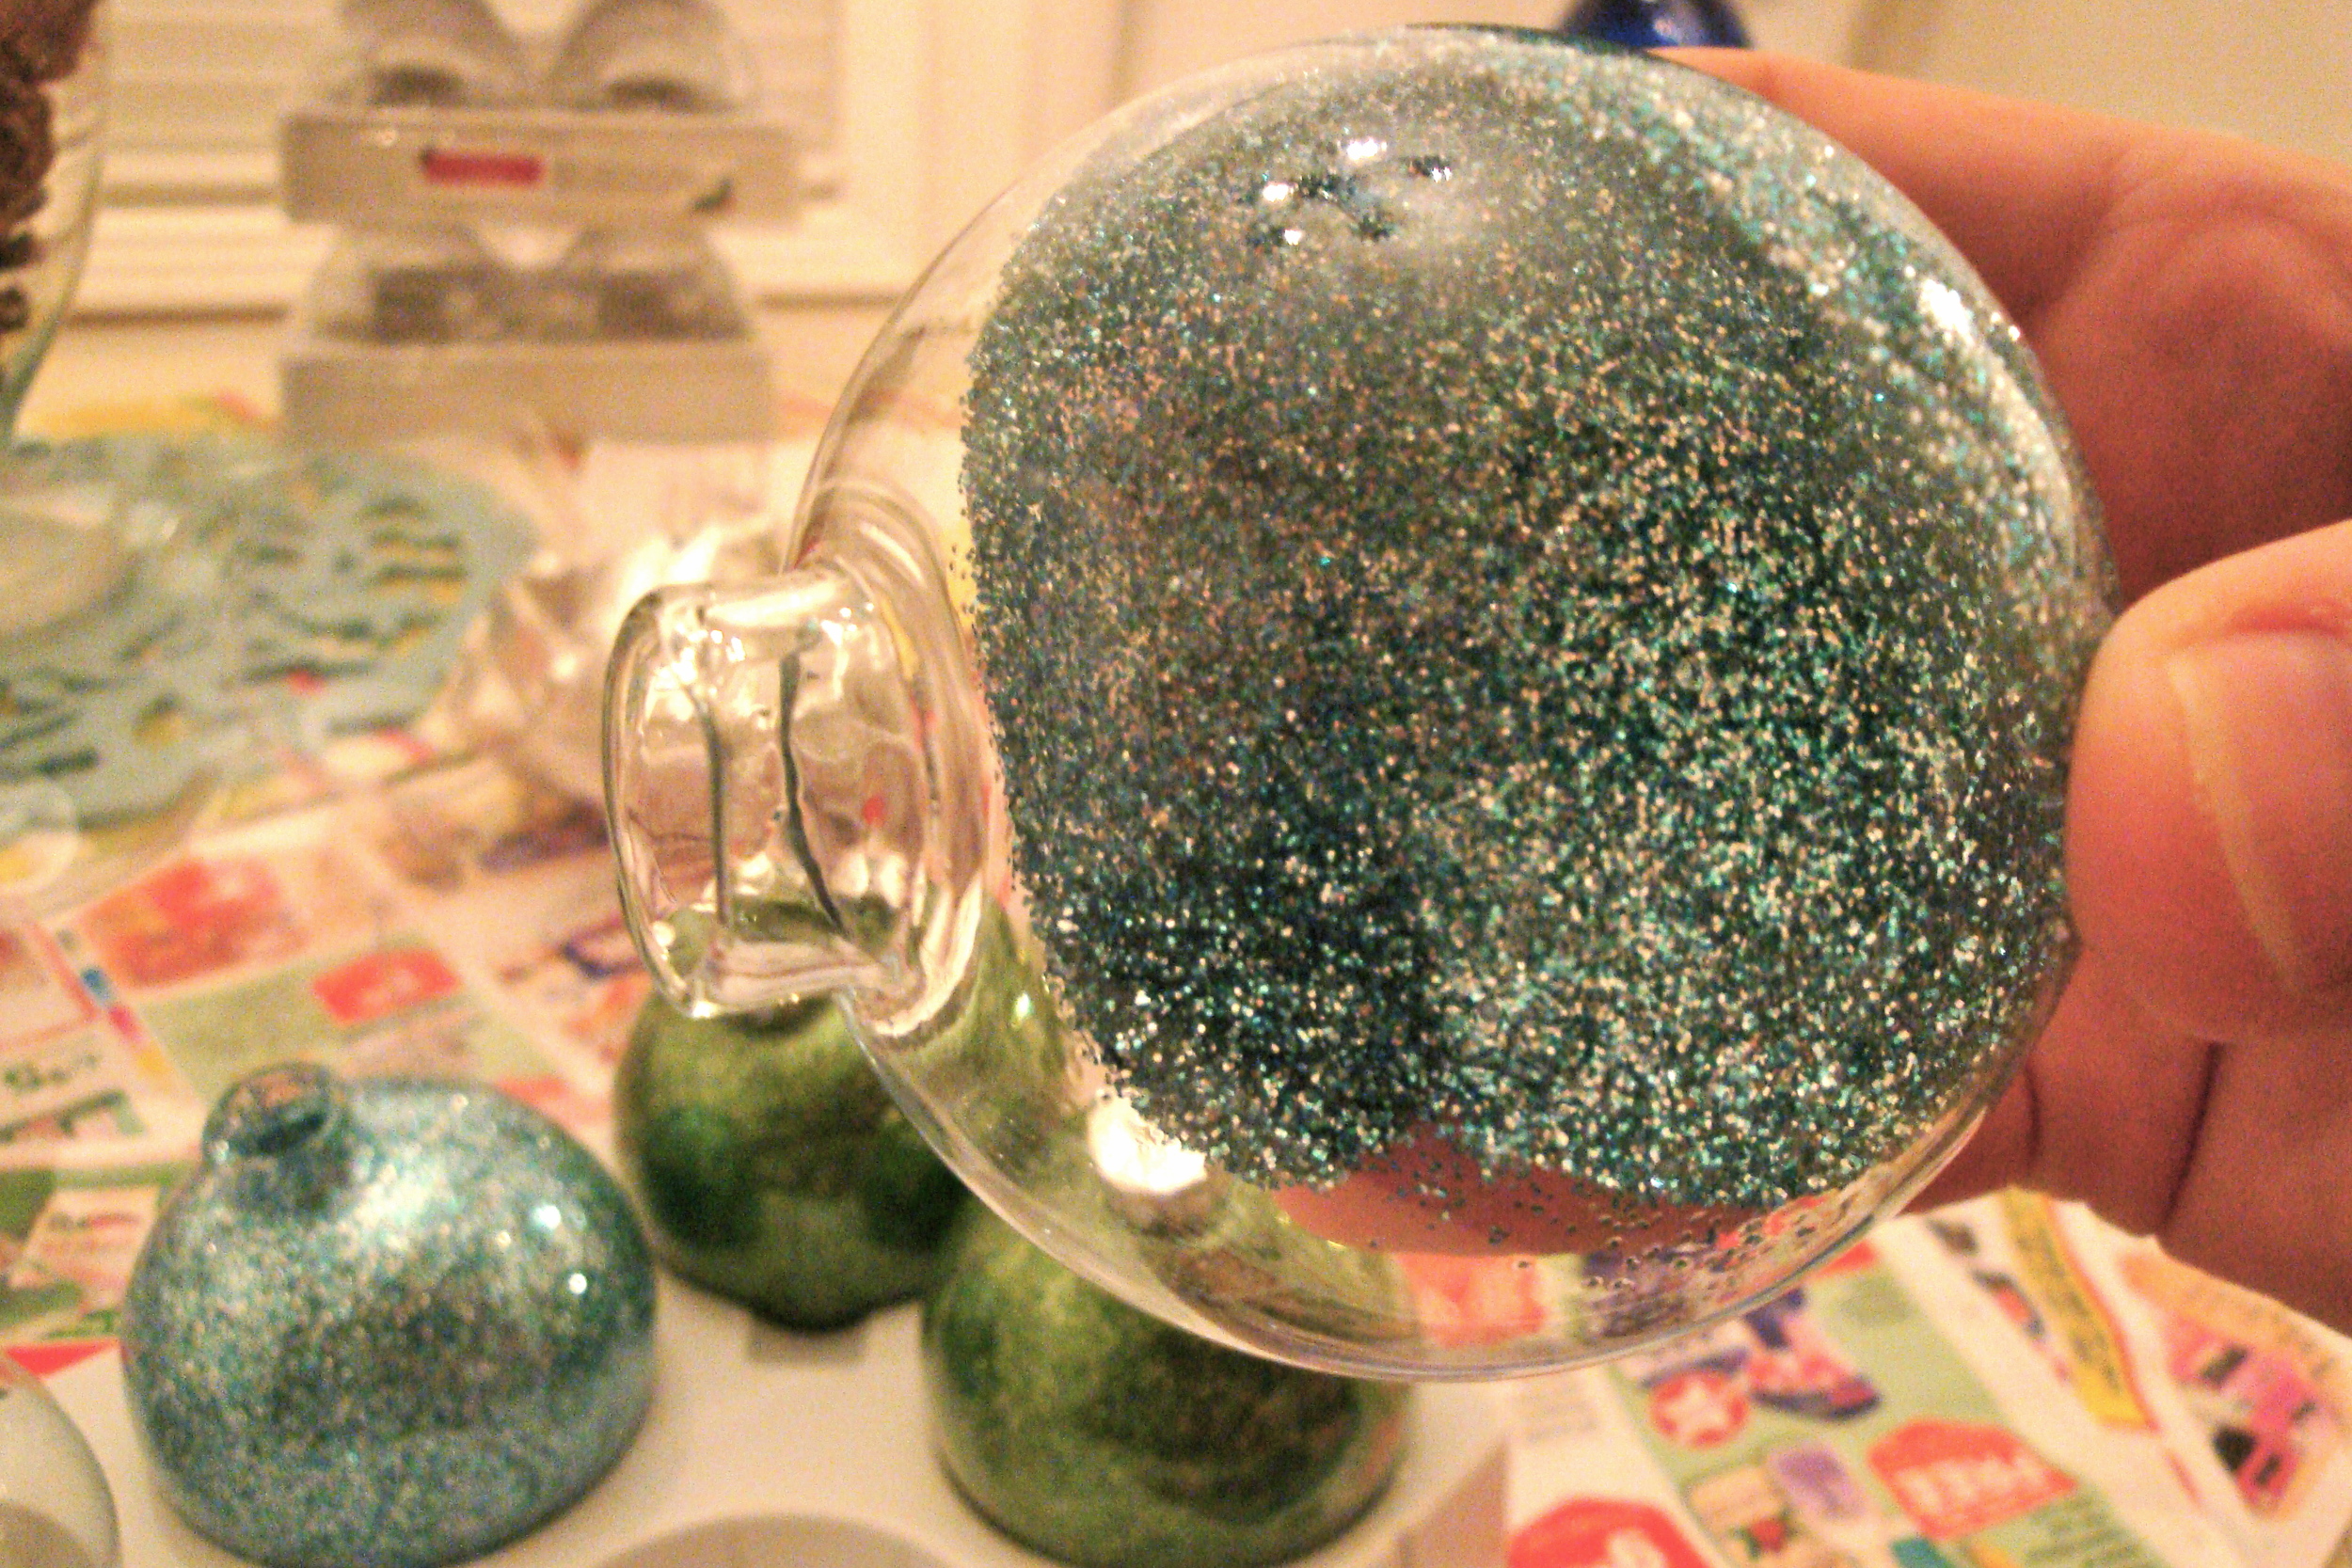
Once you pour the glittery into your ball move quickly. Otherwise a large portion of the glitter will stick to bottom of the ball. I swirled the glitter in the bottom of the ball to make a circle shape and then started rolling it sideways towards me like you see above. When I got close the top I plugged the hole with a paper towel to make sure bit was covered.
One thing I noticed, the course glitter (in blue) was less forgiving. It also used up a lot more so if I were to do it again, I'd stay away from it.
DSC05427
If you don't have a funnel, which I just finally bought a 3 pack at Target last night for less than $2, you can easily create a makeshift one using wax paper. Just cut a circle out of a small sheet of wax paper, then cut a slit about halfway through your circle. Add a strip of tape to one side, create a cone shape and VOILA!
DSC05429
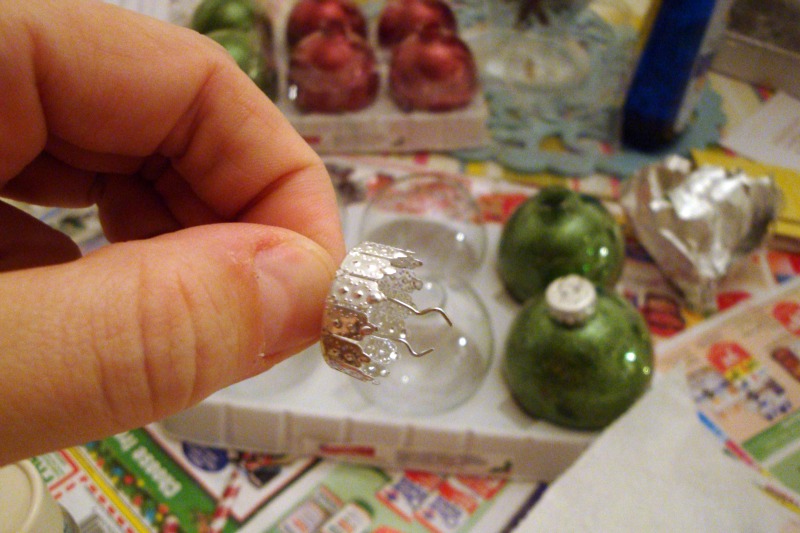
A helpful hint for all of you, pull the hook's prongs up part way through the cap. This way, after the glitter has dried inside the balls (I waited overnight again) you won't scrape any glitter off the insides.

DSC05466
Now we have a sparkly, glittery tree!