Freezer Paper Wedding Banner

This is not a craft meant for beginners and this is coming from a seasoned crafter! I wouldn't say that it was super difficult, but it was time consuming and tedious. I had seen this adorable banner all over Pinterest from Martha Stewart and since we were also planning our own kind of courthouse nuptials I thought this would be perfect for our day!
This was my first venture into freezer paper after seeing it pop up on a few blogs. What's funny is that I found it in the grocery store right next to the ziplock baggies and aluminum foil. It actually says right on the front of box to use for arts and crafts. How do people even discover this kind of thing in the first place?!
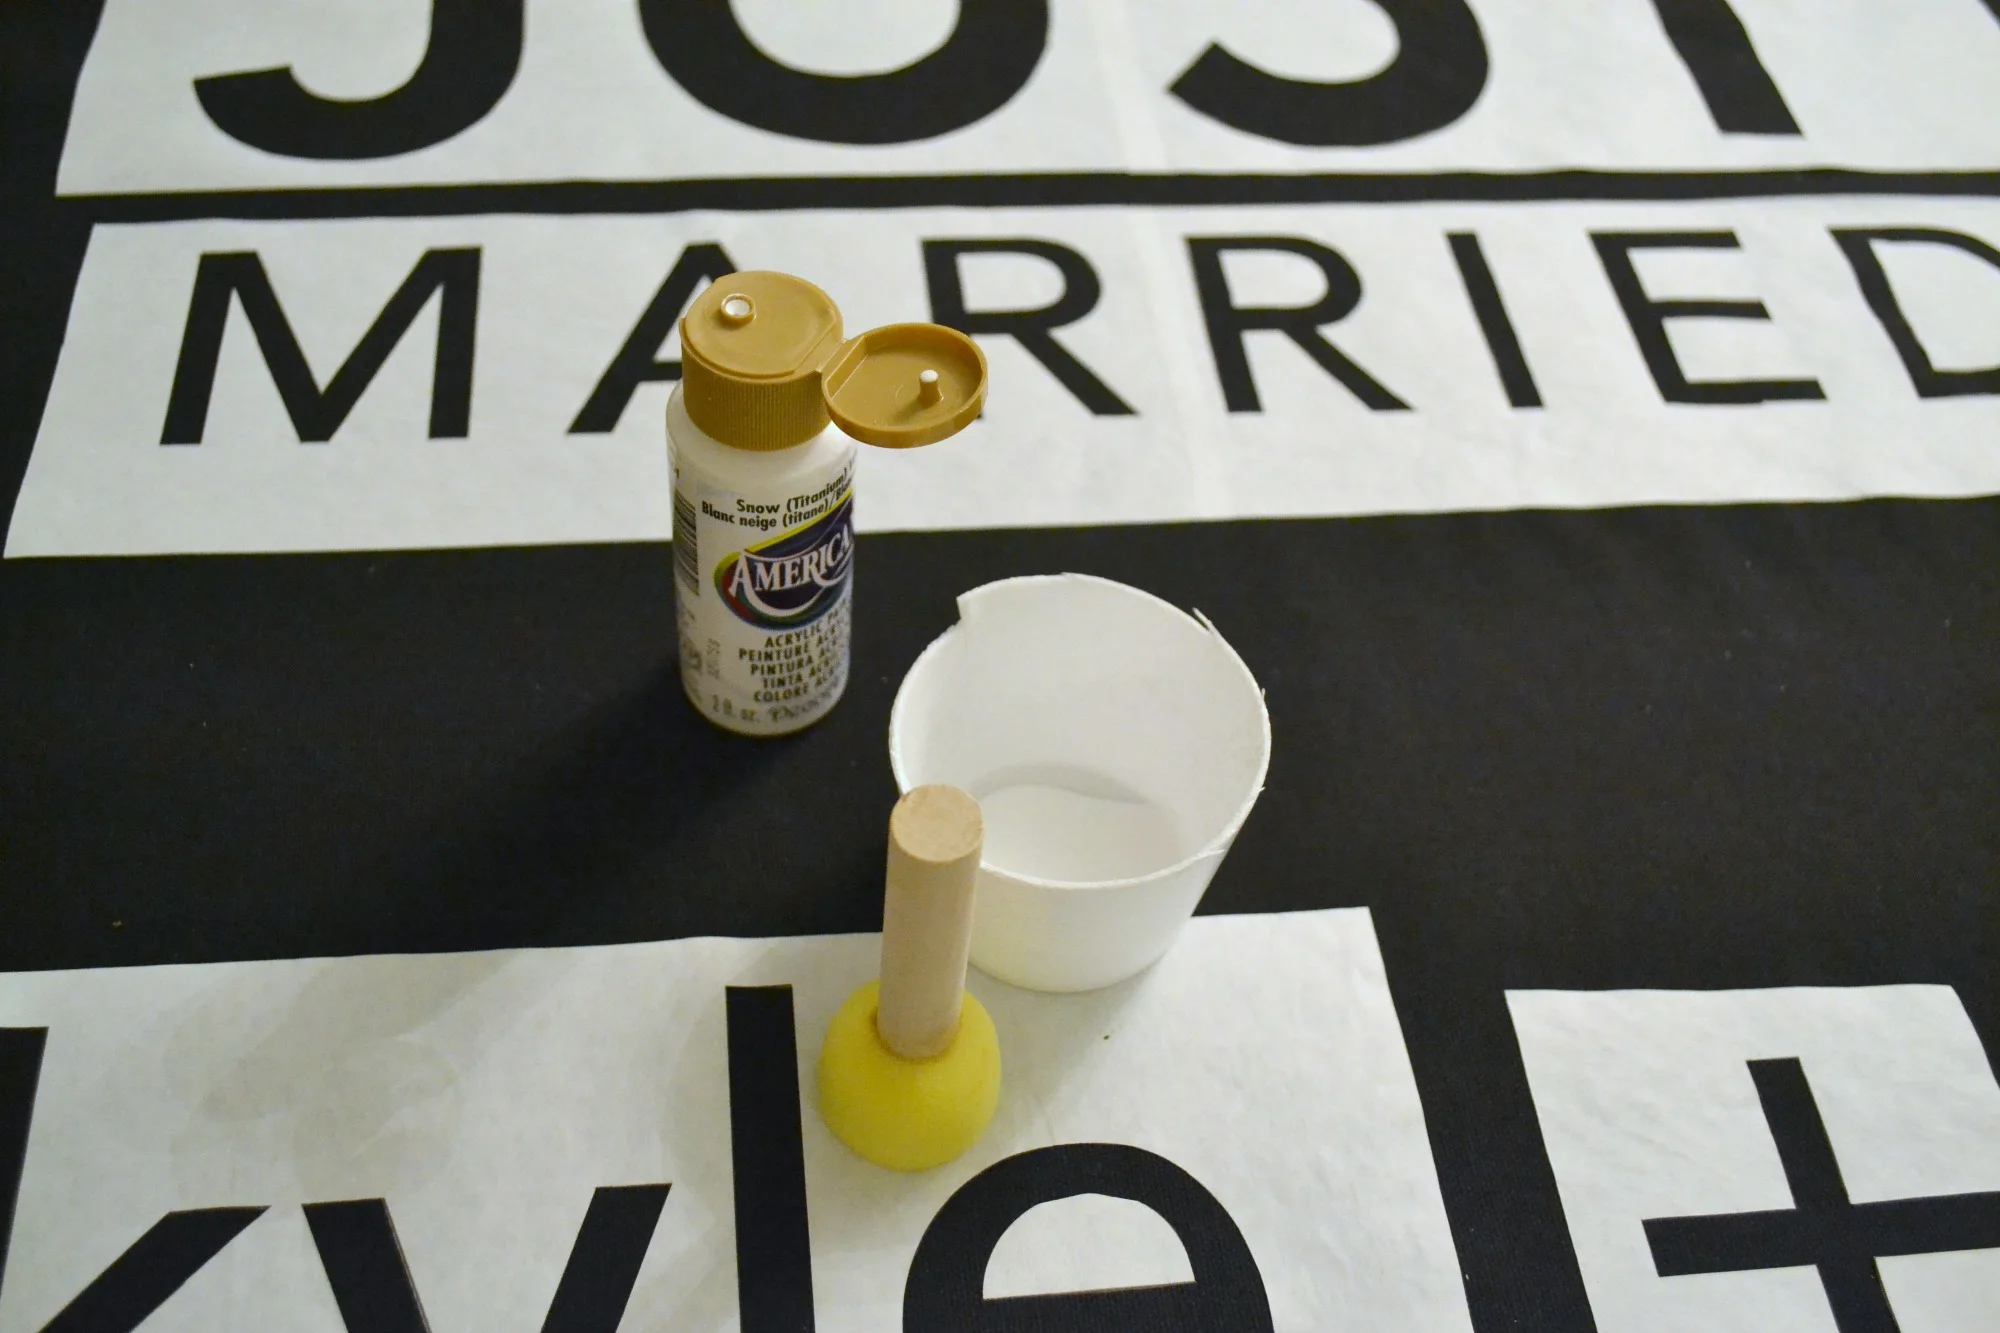
Items needed: acrylic paint, foam brush, heavy fabric (I used a canvas material), a dowel and of course freezer paper!

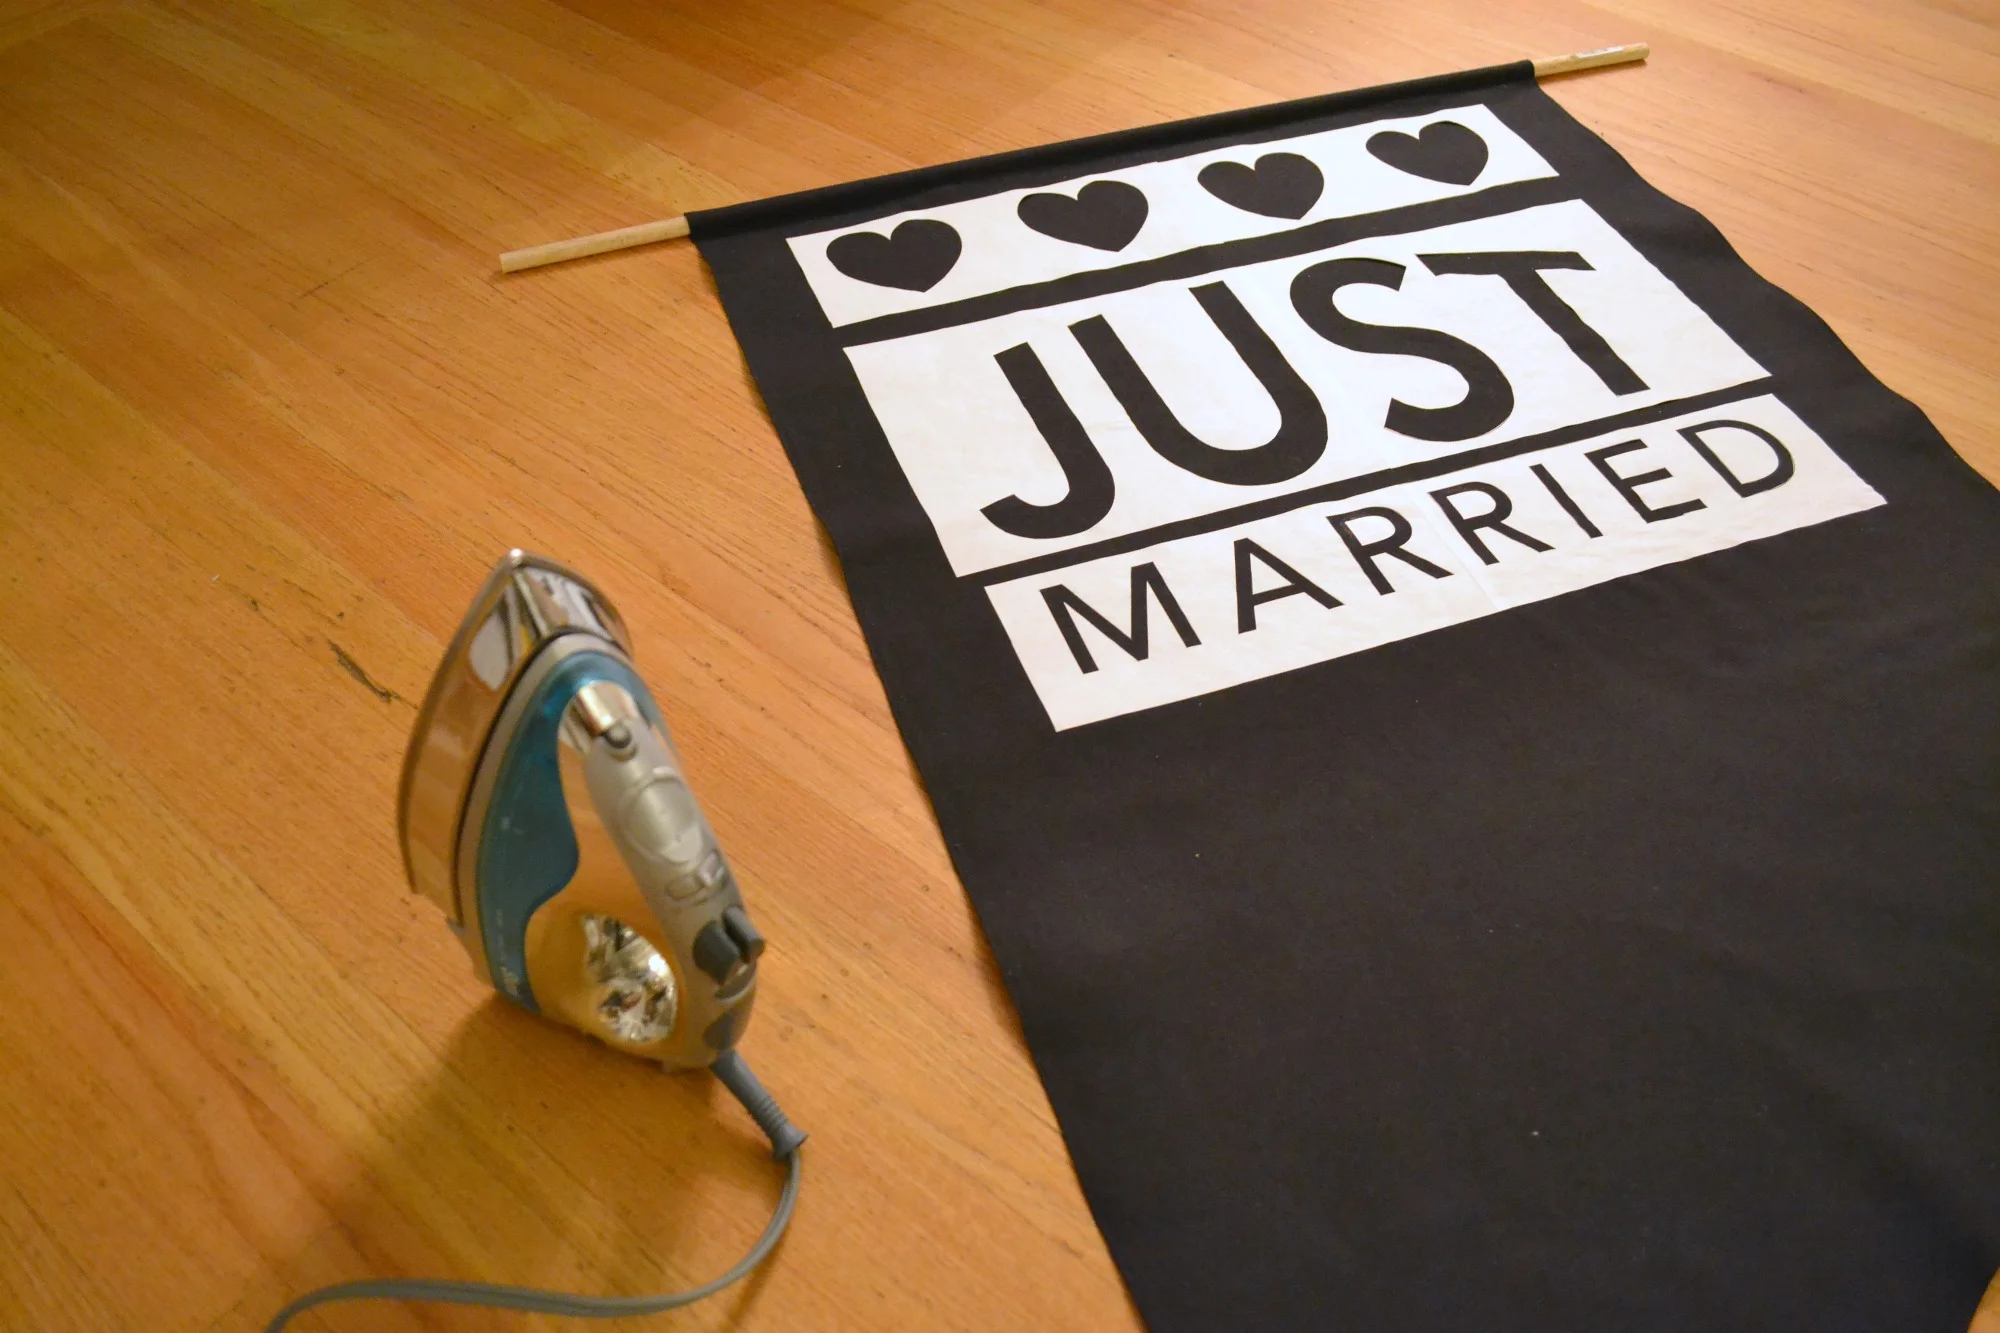
First off you have to figure out how you're going to create the shape of your banner. I don't have a sewing machine so my original plan was to use stitch witchery. Cut the shape and then fold over a seam. I'm pretty sure getting my new MIL involved here was the best decision.
Once you've figured out how to make your banner (sorry I'm not too helpful) I created all my stencils in Illustrator, but if you have Microsoft Word then you're good to go. Cut your freezer paper into 8.5 x 11 sheets for your printer and print your text onto the flat/dull side. The shiny side is what sticks to your fabric. With an exacto knife you'll cut your text out to make your stencils.
I checked around on a couple different blogs and I couldn't get a clear idea on how hot the iron needed to be. I put mine on the second hottest setting and turned the steam. If I were to do this again I would buy fabric paint instead of an all-purpose paint. It took about three coats of paint to get solid coverage.
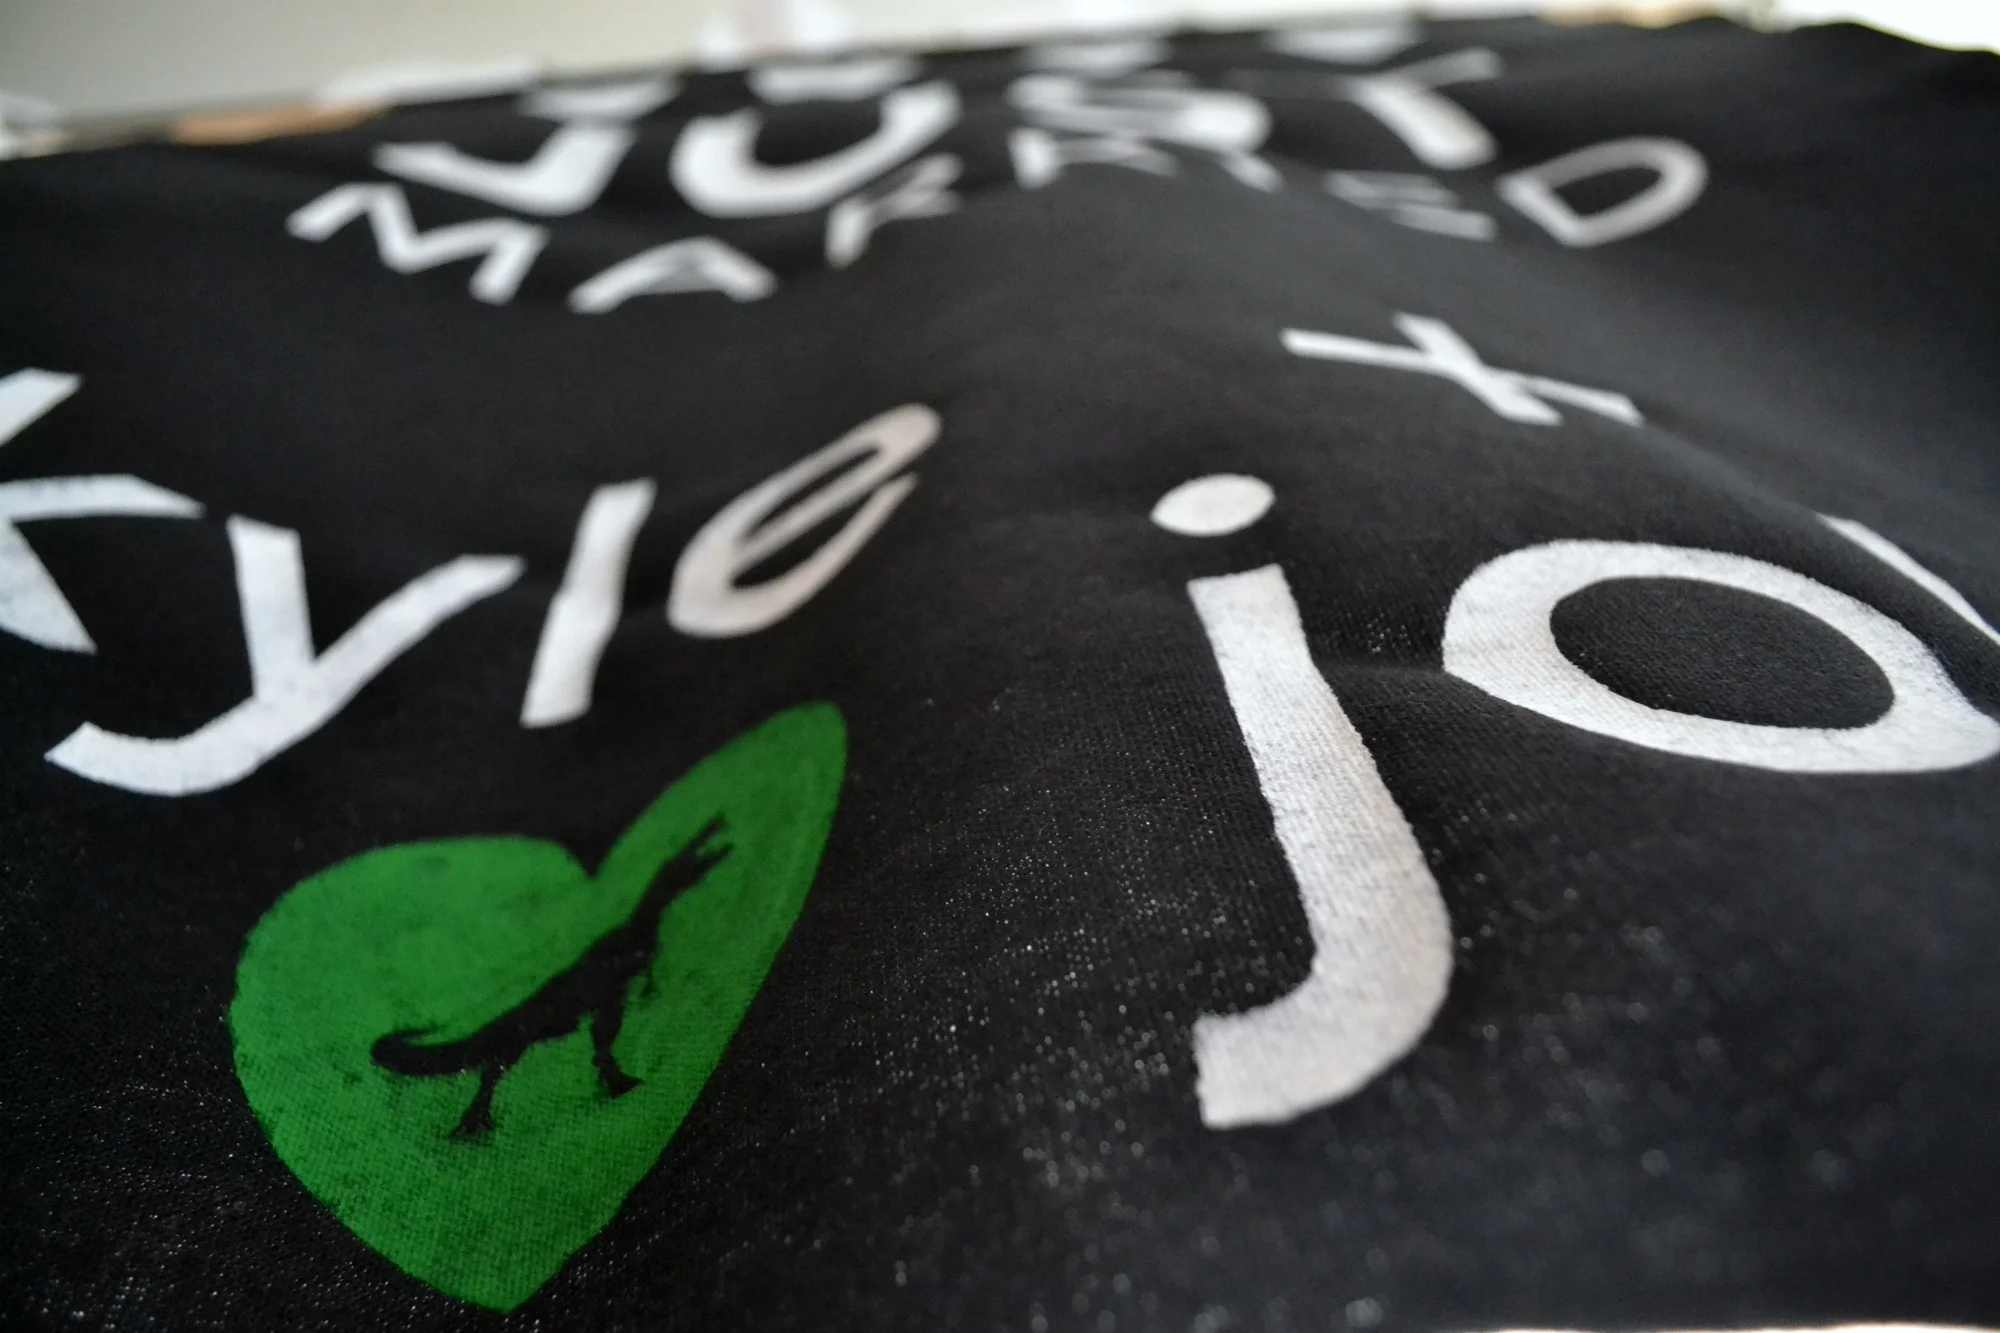
I couldn't be happier with the results! It was a fun prop for our day.